It’s FUN learning at JUMBLE HOUSE

It IS fun learning at JUMBLE HOUSE! There are new learning  activities every week for children from two to seven plus lots of Art and Craft and Science projects for all ages.

The resources are all free and I am very happy for them to be used in nurseries and schools (a nice comment and a ‘follow’ on FaceBook being appreciated in return!)

My Channel has over 150 short videos aimed at motivating children to be proactive rather than passive.  To develop a child’s natural creativity and to encourage a love of learning.

            The Jumble Fun YouTube Channel
The videos are free to watch and  to share but again, if you are using them please subscribe to my channel or comment or drop me an email. 

I love Italy and now spend most of the year there so for Italian children I have set up a separate website and channel containing fun interactive English lessons. 

               Lezioni D’Inglese per Bambini e Ragazzi

Delicious Milk Loaf 


I love really rough, dark, whole grain bread oozing seeds and nuts but nowadays either because of age or IBS, or probably both, my system does NOT like it and objects strongly. 

Unfortunately, most of the foods IT likes, I do NOT! 

So,  I’ve come up with a white Loaf which both of us can enjoy.  ( family and friends with ‘normal uncomplaining guts’ like it as well! ) 


It’s light, moist, tasty and keeps really well. It actually brings to mind the bread Heidi used to take to her Granma who found the  rough brown bread difficult to chew!   But, if you haven’t read HEIDI then you won’t know what I’m talking about! If you have, then you are probably as old as me! 

I use strong white flour and I like to crumble a Vitamin C (ascorbico acid) tablet into the flour as it speeds up the process but not absolutely necessary. I also always use fresh yeast. I just love to watch it frothing and the smell is divine. 

The olive oil should be Extra Virgin and allow three nice big tablespoons. 

The grated carrot seems odd I know but it adds moisture and colour and taste (but it definitely does NOT taste of carrot. Trust me! )

We don’t have an oven at Jumble House so I do have to bake the bread in the Breadmaker but that’s all I use it for as I like to knead the dough myself. If I had an oven I would definitely use that to bake the bread because the crust is infinitely better plus you can make interestingly shaped loaves and cobs and bread rolls.  

Anything else ….. only to say that kids love bread making and it is so good for their coordination and strengthens those little hand muscles in preparation for years of writing!  Real dough is better than playdough cause you can eat the results! White dough is also easier to manipulate than brown.  Get them making little plaited rolls and cobs and all kinds of animal shapes. 

Since I buy fresh yeast in twin packs I sometimes use the second cube mixed with sugar and warm water to blow up a balloon!  (The mixture poured into a plastic water bottle with the balloon over the neck).   It’s a good way of demonstrating just how and why the bread is rising and what makes those little air pockets.  There’s a fun video for kids on my channel showing this. Just click on the link below: 

Link to video for children. All about yeast. Shows how to blow up a balloon with yeast.

An afternoon on Isola Maggiore 

Onions! Rooting veg. FUN


Four days ago we made some little rooting containers from plastic water bottle tops stuck onto lids to keep them stable. They work really well!  We put a red onion in one positioned so the base was nearly touching the water. 

Four days later and it looks like this! 


Children of all ages will learn such a lot from just this simple activity but let them find out for themselves by observation and careful questioning. Get them to predict. To investigate. Suggest their own experiments. How far this goes depends on the developmental stage of the child but don’t underestimate. Children are capable of  understanding  and absorbing a lot more than we think! 

Take photos or draw the vegetables at different stages. Take measurements of the shoot and the root and the girth of the onion bulb at the beginnng and every three or four days. Make charts to show the difference.  

Compare the growth of the plant with our growth. What we need to grow. Where we get food from. Where does the food for the plant come from? 
Ask questions and use the question words. What? Where? Why? How? 

What’s happened to the water? The roots? The shoots? The onion bulb ? 

Will this work with other veg.?

With pieces of veg? 

What will happen if we root two of the same veg. but positioned differently.

Ask them to look carefully at the veg. first and to predict where the roots will grow. 

Why do plants grow roots? 

If you turn the onion/potato etc round what will happen to the roots? Try and see. 

Why are roots white and shoots green? 

Do shoots always grow up and roots down? How can we find out? 

Why has the bulb shrunk? 

Now try this! 


Have fun! 

The HAND Science Challenge


So how does Lizzie make that glove blow up? Watch the video above to take the challenge. 

Did you guess how Lizzie blew up the glove? 

Watch the  video below to see if you were correct! 

Floating Eggs

What? Why? How? 

Children need to e challenged not spoon-fed with facts! 

They need to question. To predict. To investigate. This is the first of a series of challenges for children. They are suitable for children from about four years upwards.  Children learn by ‘doing’ and all the challenges are simple enough for them to perform themselves with adult supervision. 

This first challenge is all about floating and density. 

The first video shows the challenge. 

The second video repeats the investigation and then answers the questions. 

My suggestion is that you watch the first video then perform the challenge asking the questions 

Later the second video giving the solutions can be watched.

Crayon Melt Fun


Melting crayon art is not just for older children.

With support even toddlers will be able to produce fun pictures and they will also learn a little about melting and colour mixing. 

A Small, light hairdryer, a canvas board and a few crayons are all that is needed.

I’ve found that keeping the paper on the crayons and sticking them to the board makes the job much more manageable for Tinies. Then they, and you, can concentrate on the important part – the melting.  Cellotape or glue can be used to secure the crayons. 

 Make sure surfaces are protected! It can be messy! 

The idea is to keep the hairdryer pointing downwards onto the crayon. Tilt the board slightly.  When the crayon first starts to melt it sprays a little in all directions and then will start to trickle downwards .  Once there is a stream of each colour then the fun begins!  The board can be tilted in different directions so causing the colour  streams to cross and mix. 

Once the child is familiar with the technique it’s  fun to experiment. Obstacles can be stuck on the board to send the melted crayon in different directions or a picture can be painted on the hoard beforehand so the melted crayon looks like a fountain or fire or volcano.  

 Above:  a card cut out can be glued to the board so the crayon covers the cutout making it look like the little people are under a multicoloured fountain.  

Less is best! Children usually want to keep going and going until all the crayon has melted and mixed.  The result? Usually a muddy mess! Should you stop them? No!  We know that mixing too many colours together makes well, a pretty yuck colour. They don’t! 

It’s much better for them to find out themselves.  This is the way they learn.  


What you can do is to suggest taking photos at different stages and then discussing them later.  Which did they like best? Which colours worked best?  How would they change what they did? Would using fewer colours be best! 

With a toddler I would suggest using very small. Rayons or break longer ones in half.  That way the melting time is halved and the mess! 

The video below is a fun introduction for very young children to crayon melting. 

FUN CRAYON MELTING 

Below: grated crayons! 


Another fun way with crayon melts. 

This works well with a simple black or grey painting or drawing on canvas. Here we’ve used trees. 

Grate the choice of crayons onto newspaper. Place the canvas picture (face side down) on top of the crayons. Then blow hot air at the underside of the canvas.

Easter Bunny Toy 30 minute. No sewing. 

Quick and easy.

No sewing!

 We’re all off on a snail hunt! 


We’re all off on a Snail Hunt ….. try putting it to the music of  ‘We’re all off to the zoo tomorrow, zoo tomorrow, zoo tomorrow ….. ‘ 

It goes quite well!!! 

But, of course a snail hunt is no fun if you are not likely to find snails! 

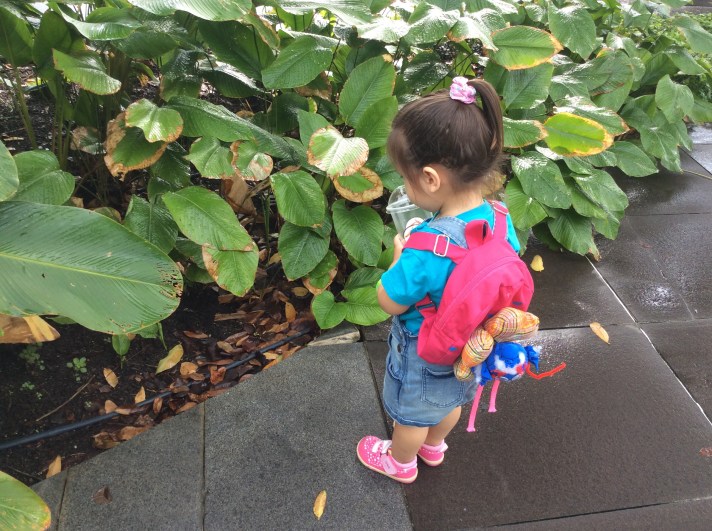
The idea of this blog is that you choose to hunt something that you KNOW you are likely to find plus you rule out animals (and plants) that are likely to cause actual harm. That will rule out lions, tigers, rattlesnakes, poisonous jellyfish, cacti and unfriendly dogs.  Involve your children in the initial search as this will make them much more enthusiastic. Look up habitats and methods of collection just in case you do decide to take a creature home but I hope you won’t. 

So what are we left with


This depends on where you are and the time of the year so, yes you will need to do a little research 

In Europe in the spring we could be looking at :

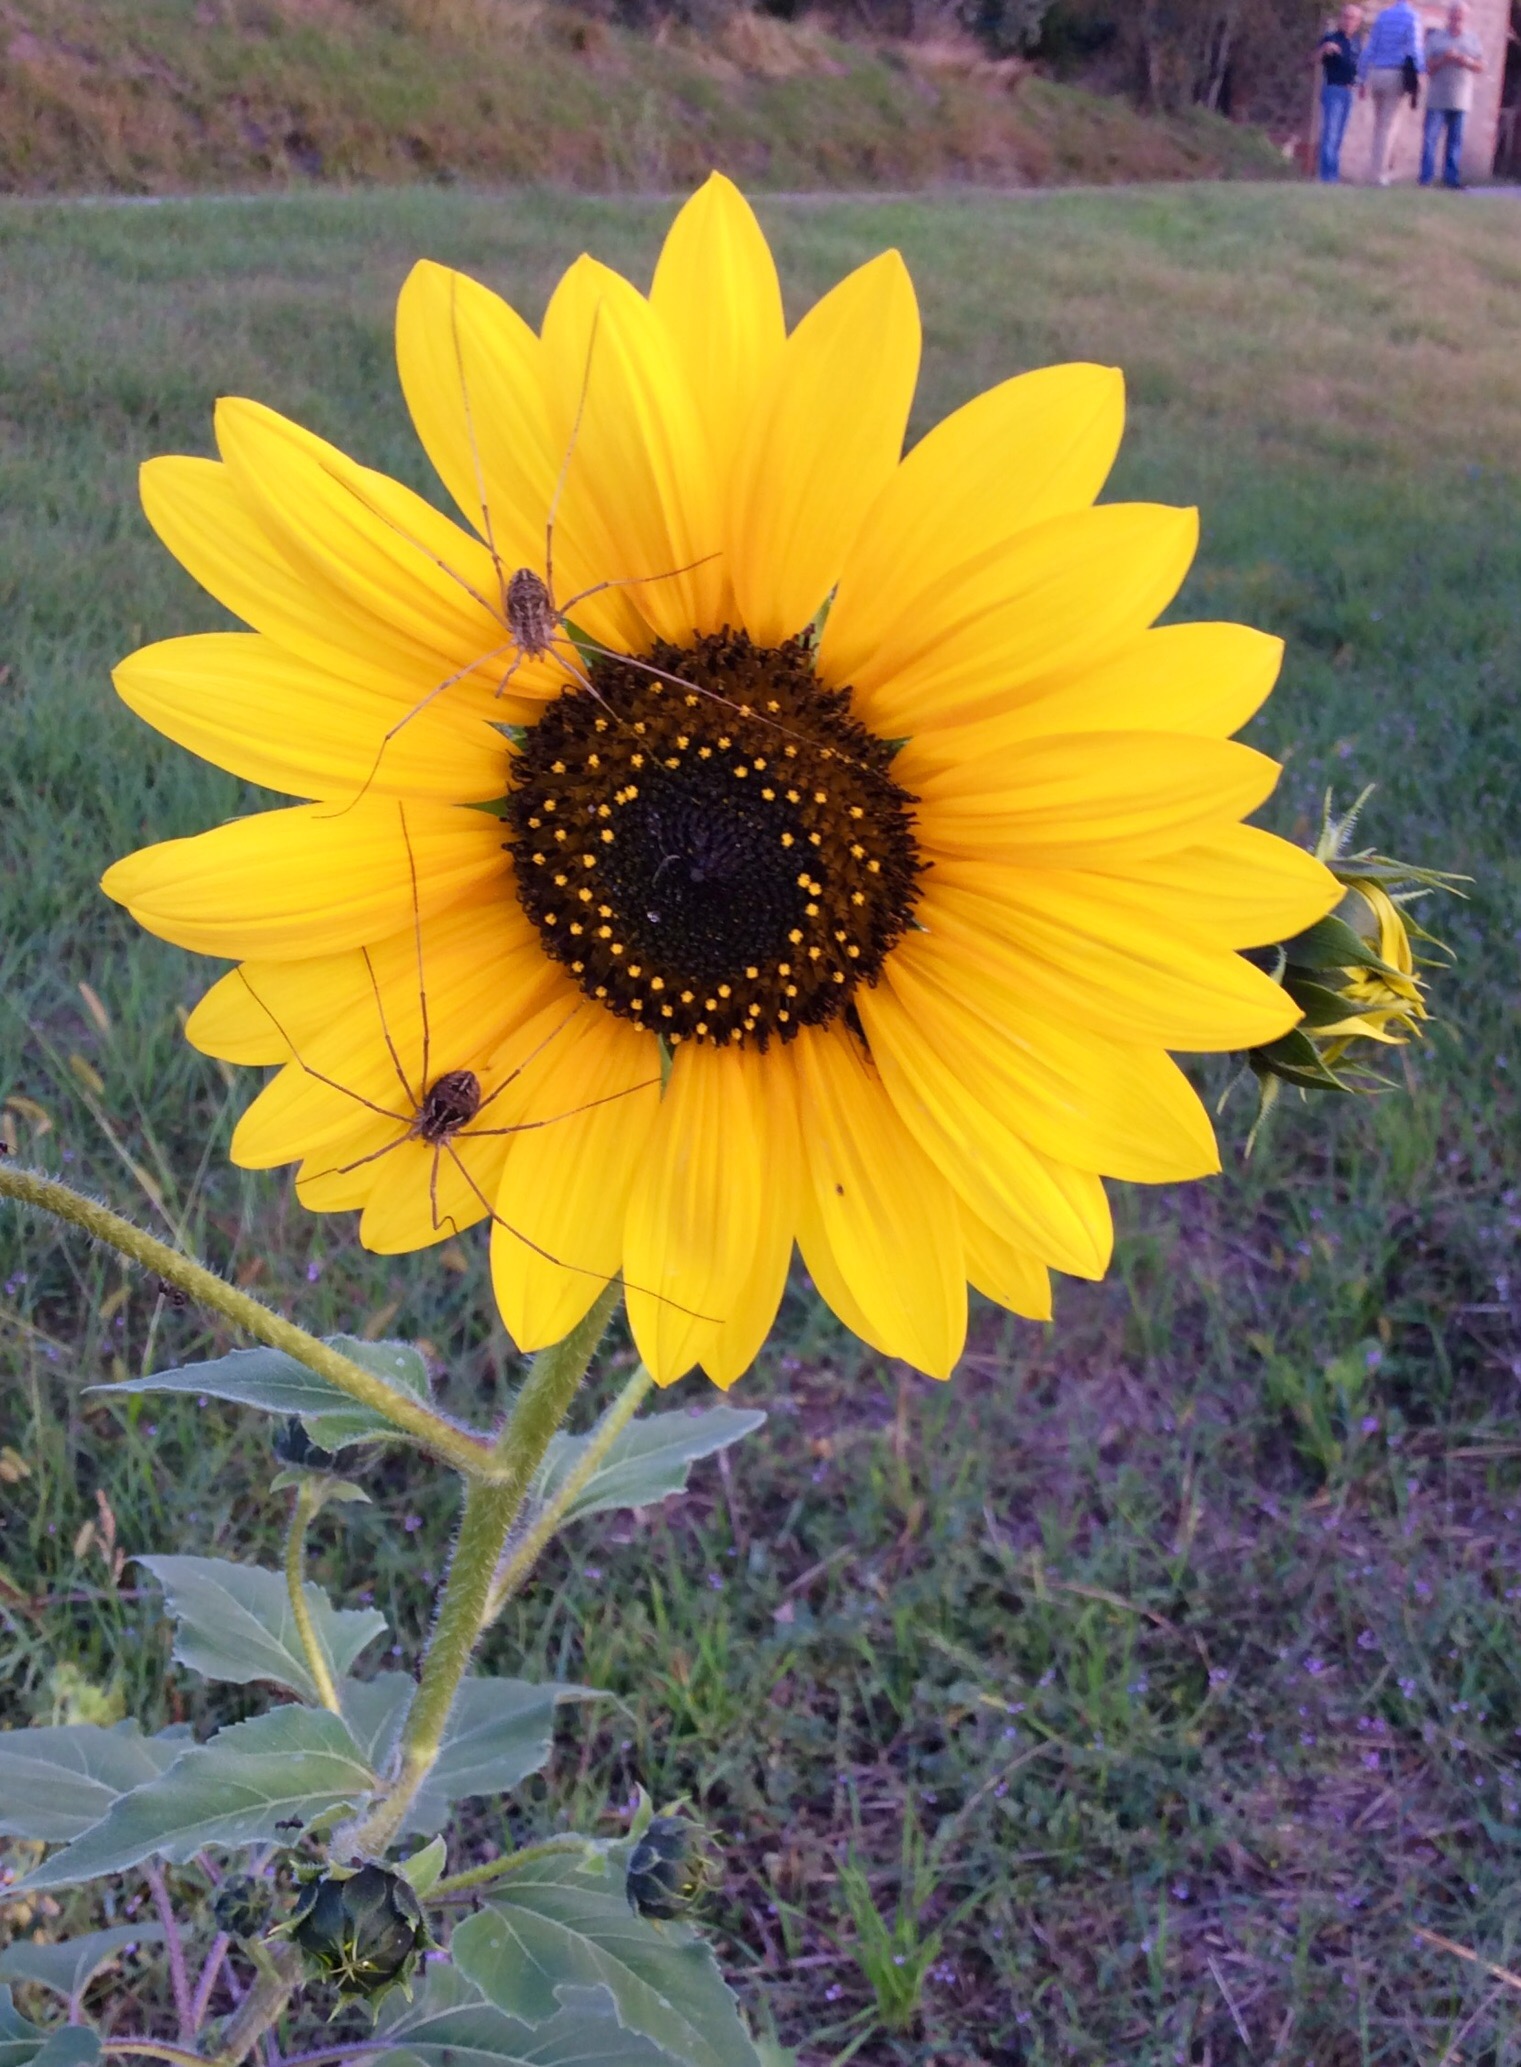
Well yes..definitely bees and they are very interesting to observe … NOT collect obviously! Children will ask lots of questions. Try to resist spoonfeeding them the answer. Instead say, ‘What do you think? Why is that?’ Then if necessary give hints … why are they visiting the flowers? What can you see on their legs? Why are they buzzing? Why are they so brightly striped? 

In addition to bees there may be Caterpillars, butterflies, frogspawn, spring flowers, sprouting buds, blossom, lizards, birds nests, badgers, young animals like lambs and calves and ducklings.   Hedgehogs, Rabbits, Badgers, Deer. 

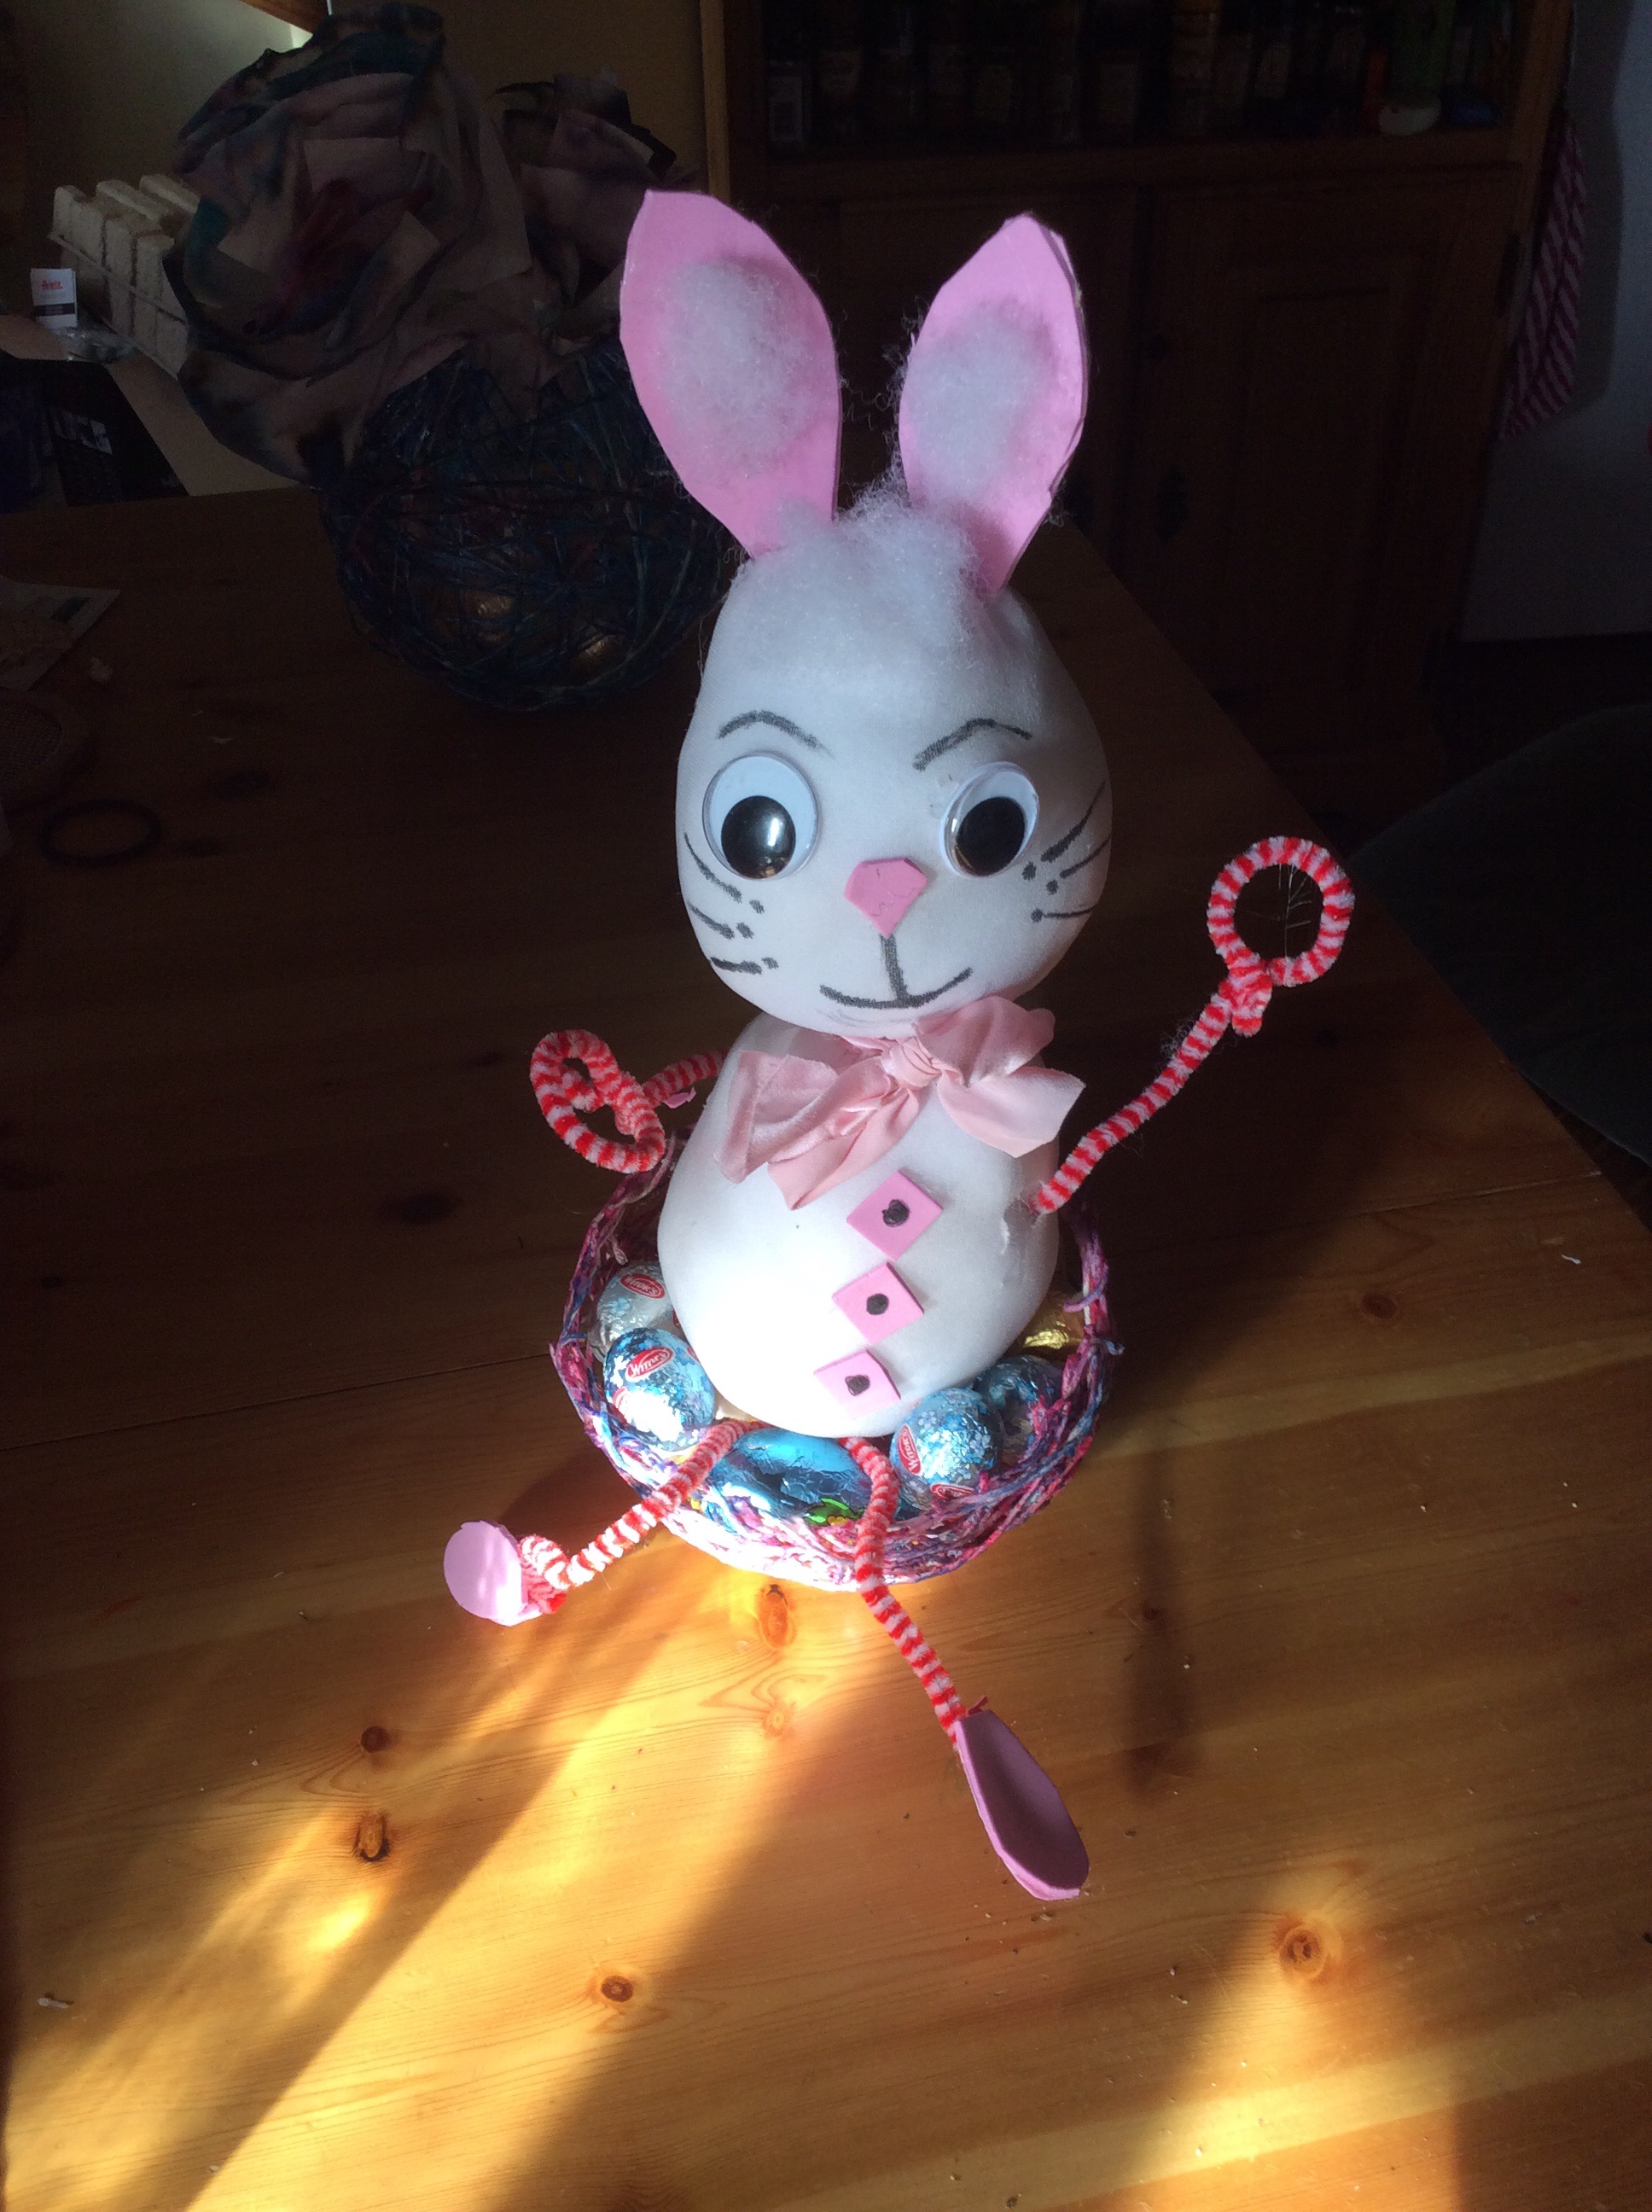
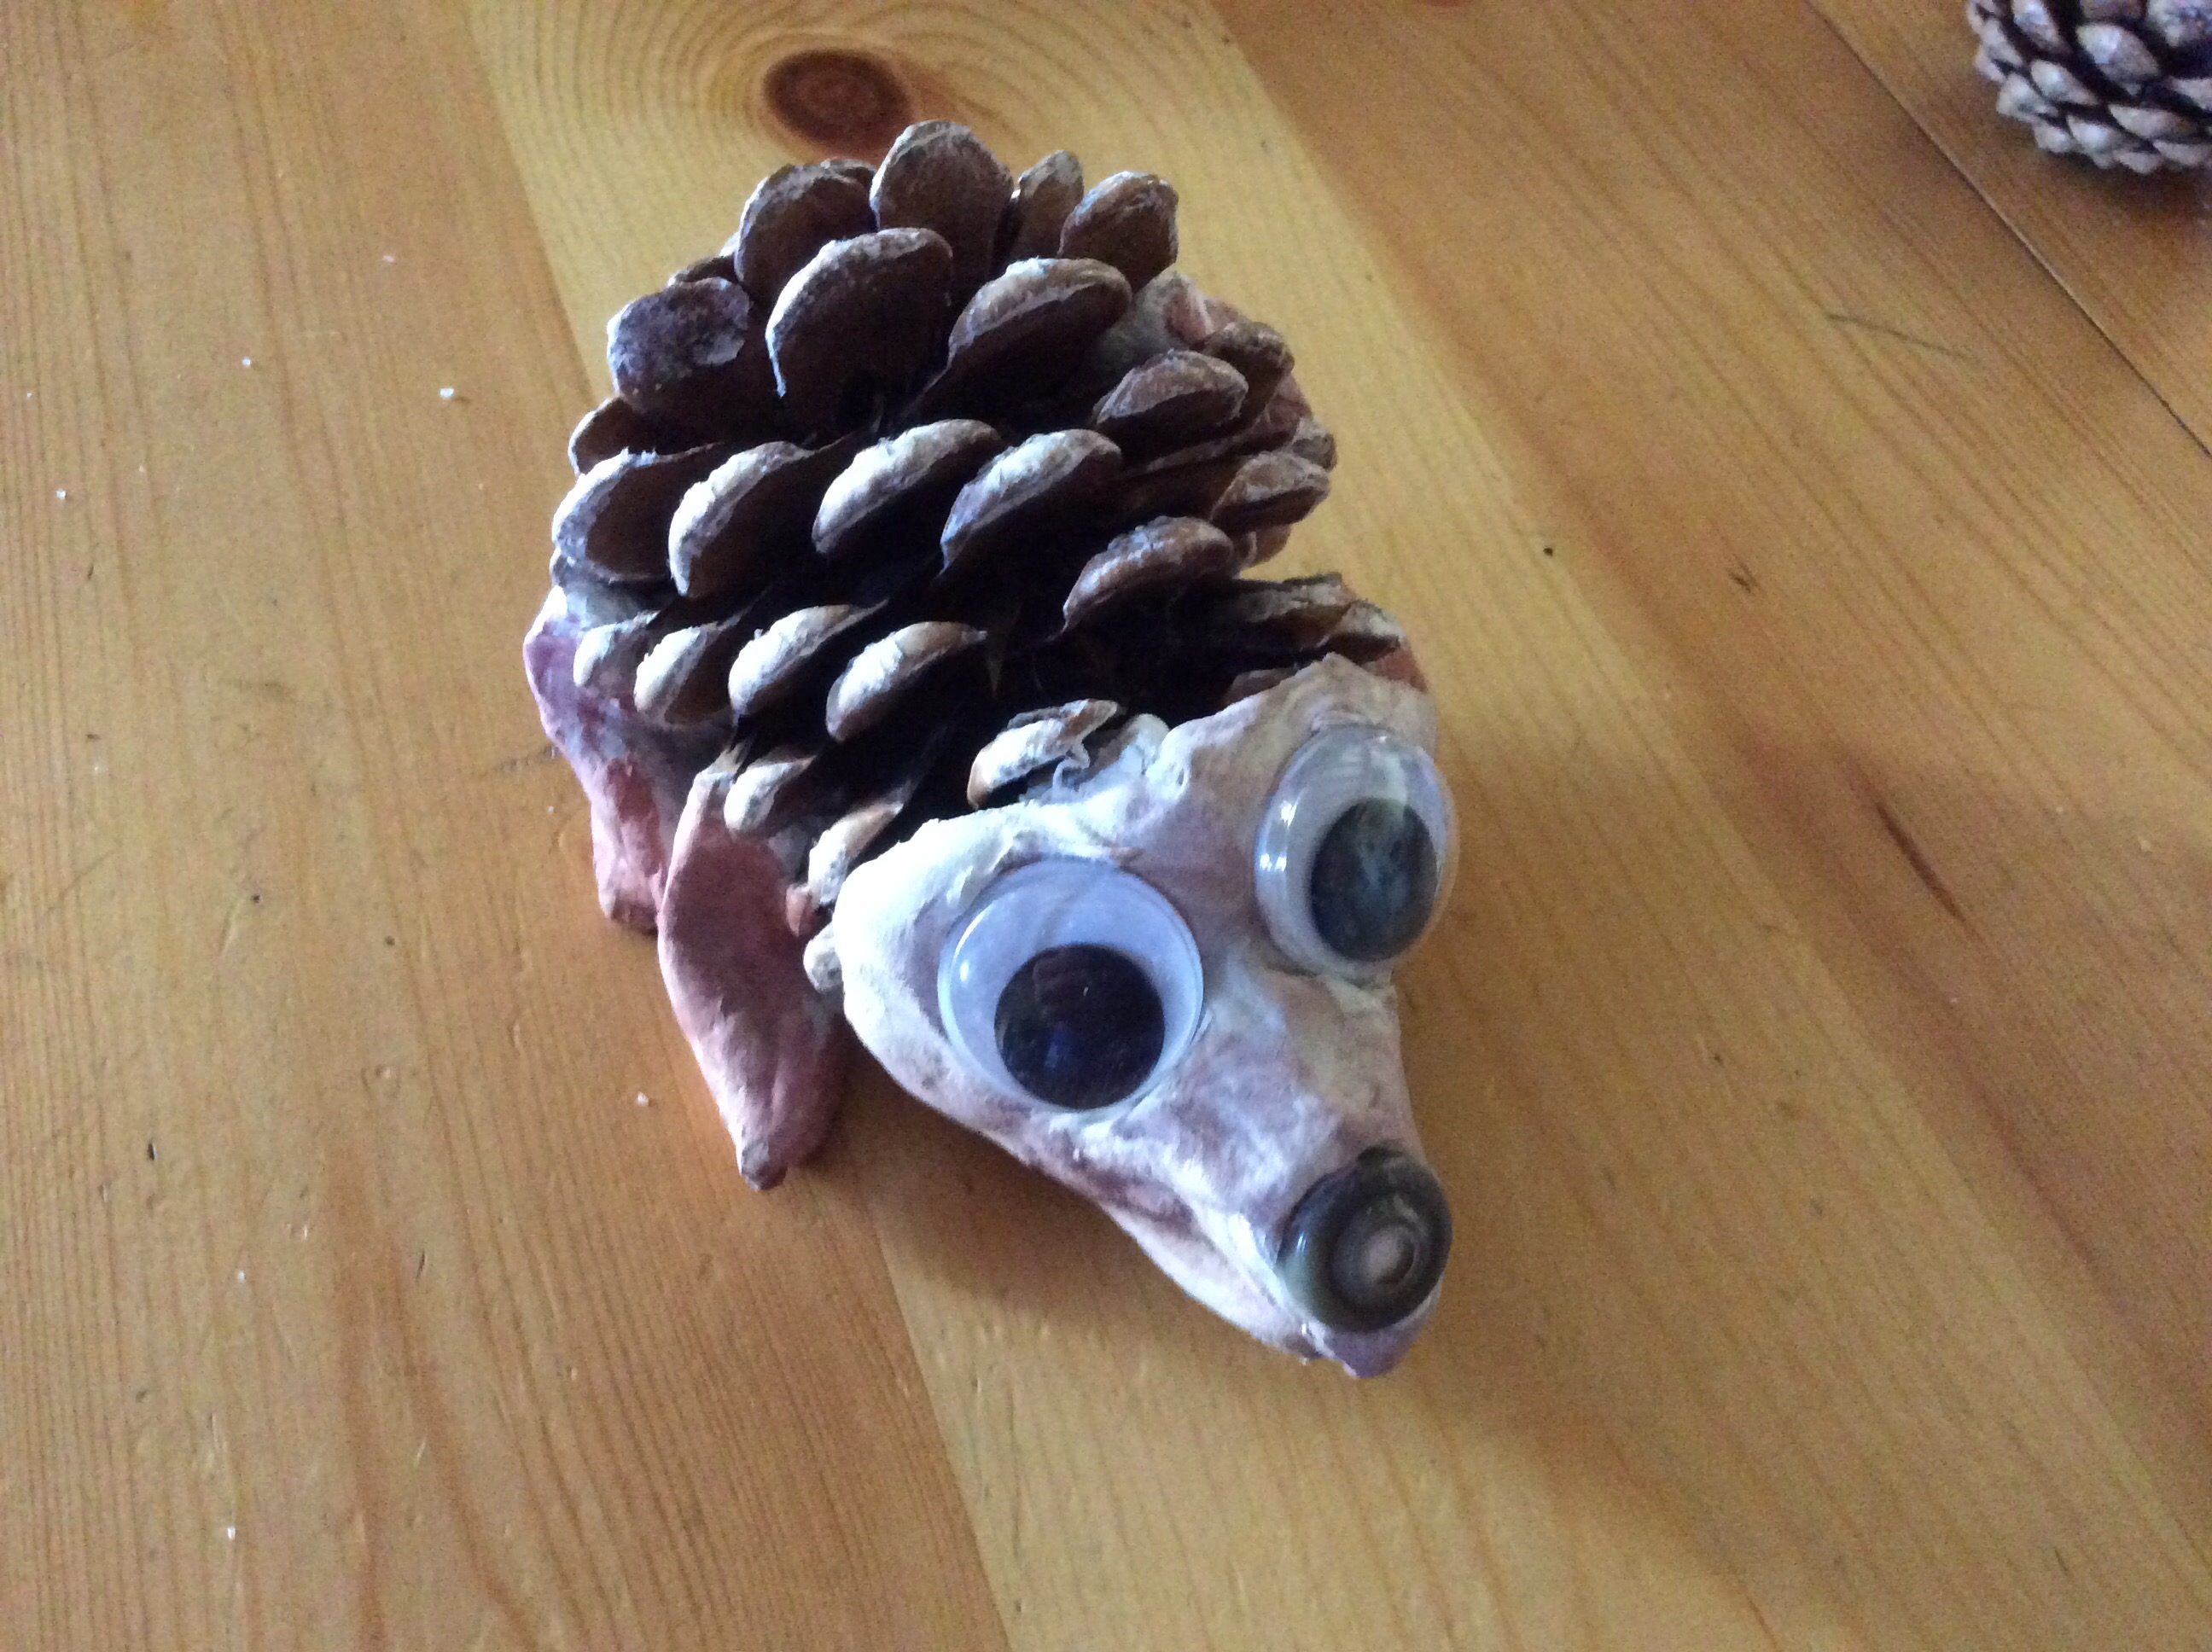
It doesn’t have to be something you can collect but yes, I  know children love to collect.!  But they can always take home something to remind them of an animal. Something to make a model animal from. 


Obviously from the conservation aspect there are definitely some things you must not collect or interfere with like birds nests or eggs.  If you do capture a live animal, like a Caterpillar or lizard or spider then it is very important that you only do this for a minimum observation time and return it to its habitat. If you take magnifying giasses and a sketch pad, tablet or camera then there should be no need to remove the animal at all as an observation can be done on the spot. 

So,what should you be looking at?  

Obviously features that make it an insect, reptile, amphibian, bird or mammal etc.

It’s colour . It’s shape. 

How does it move? What does it eat? How does it catch its prey? Get kids to guess what enemies it may have and how it manages to avoid these enemies. 

Is it camouflaged?  Does it have a shell, or prickles? Why? 

 Where does it live? Why does it live there? Is it more active during the night of day? How do you know? 

It will make a pleasant change for you to be asking the questions! 


So now the things you can take home: 

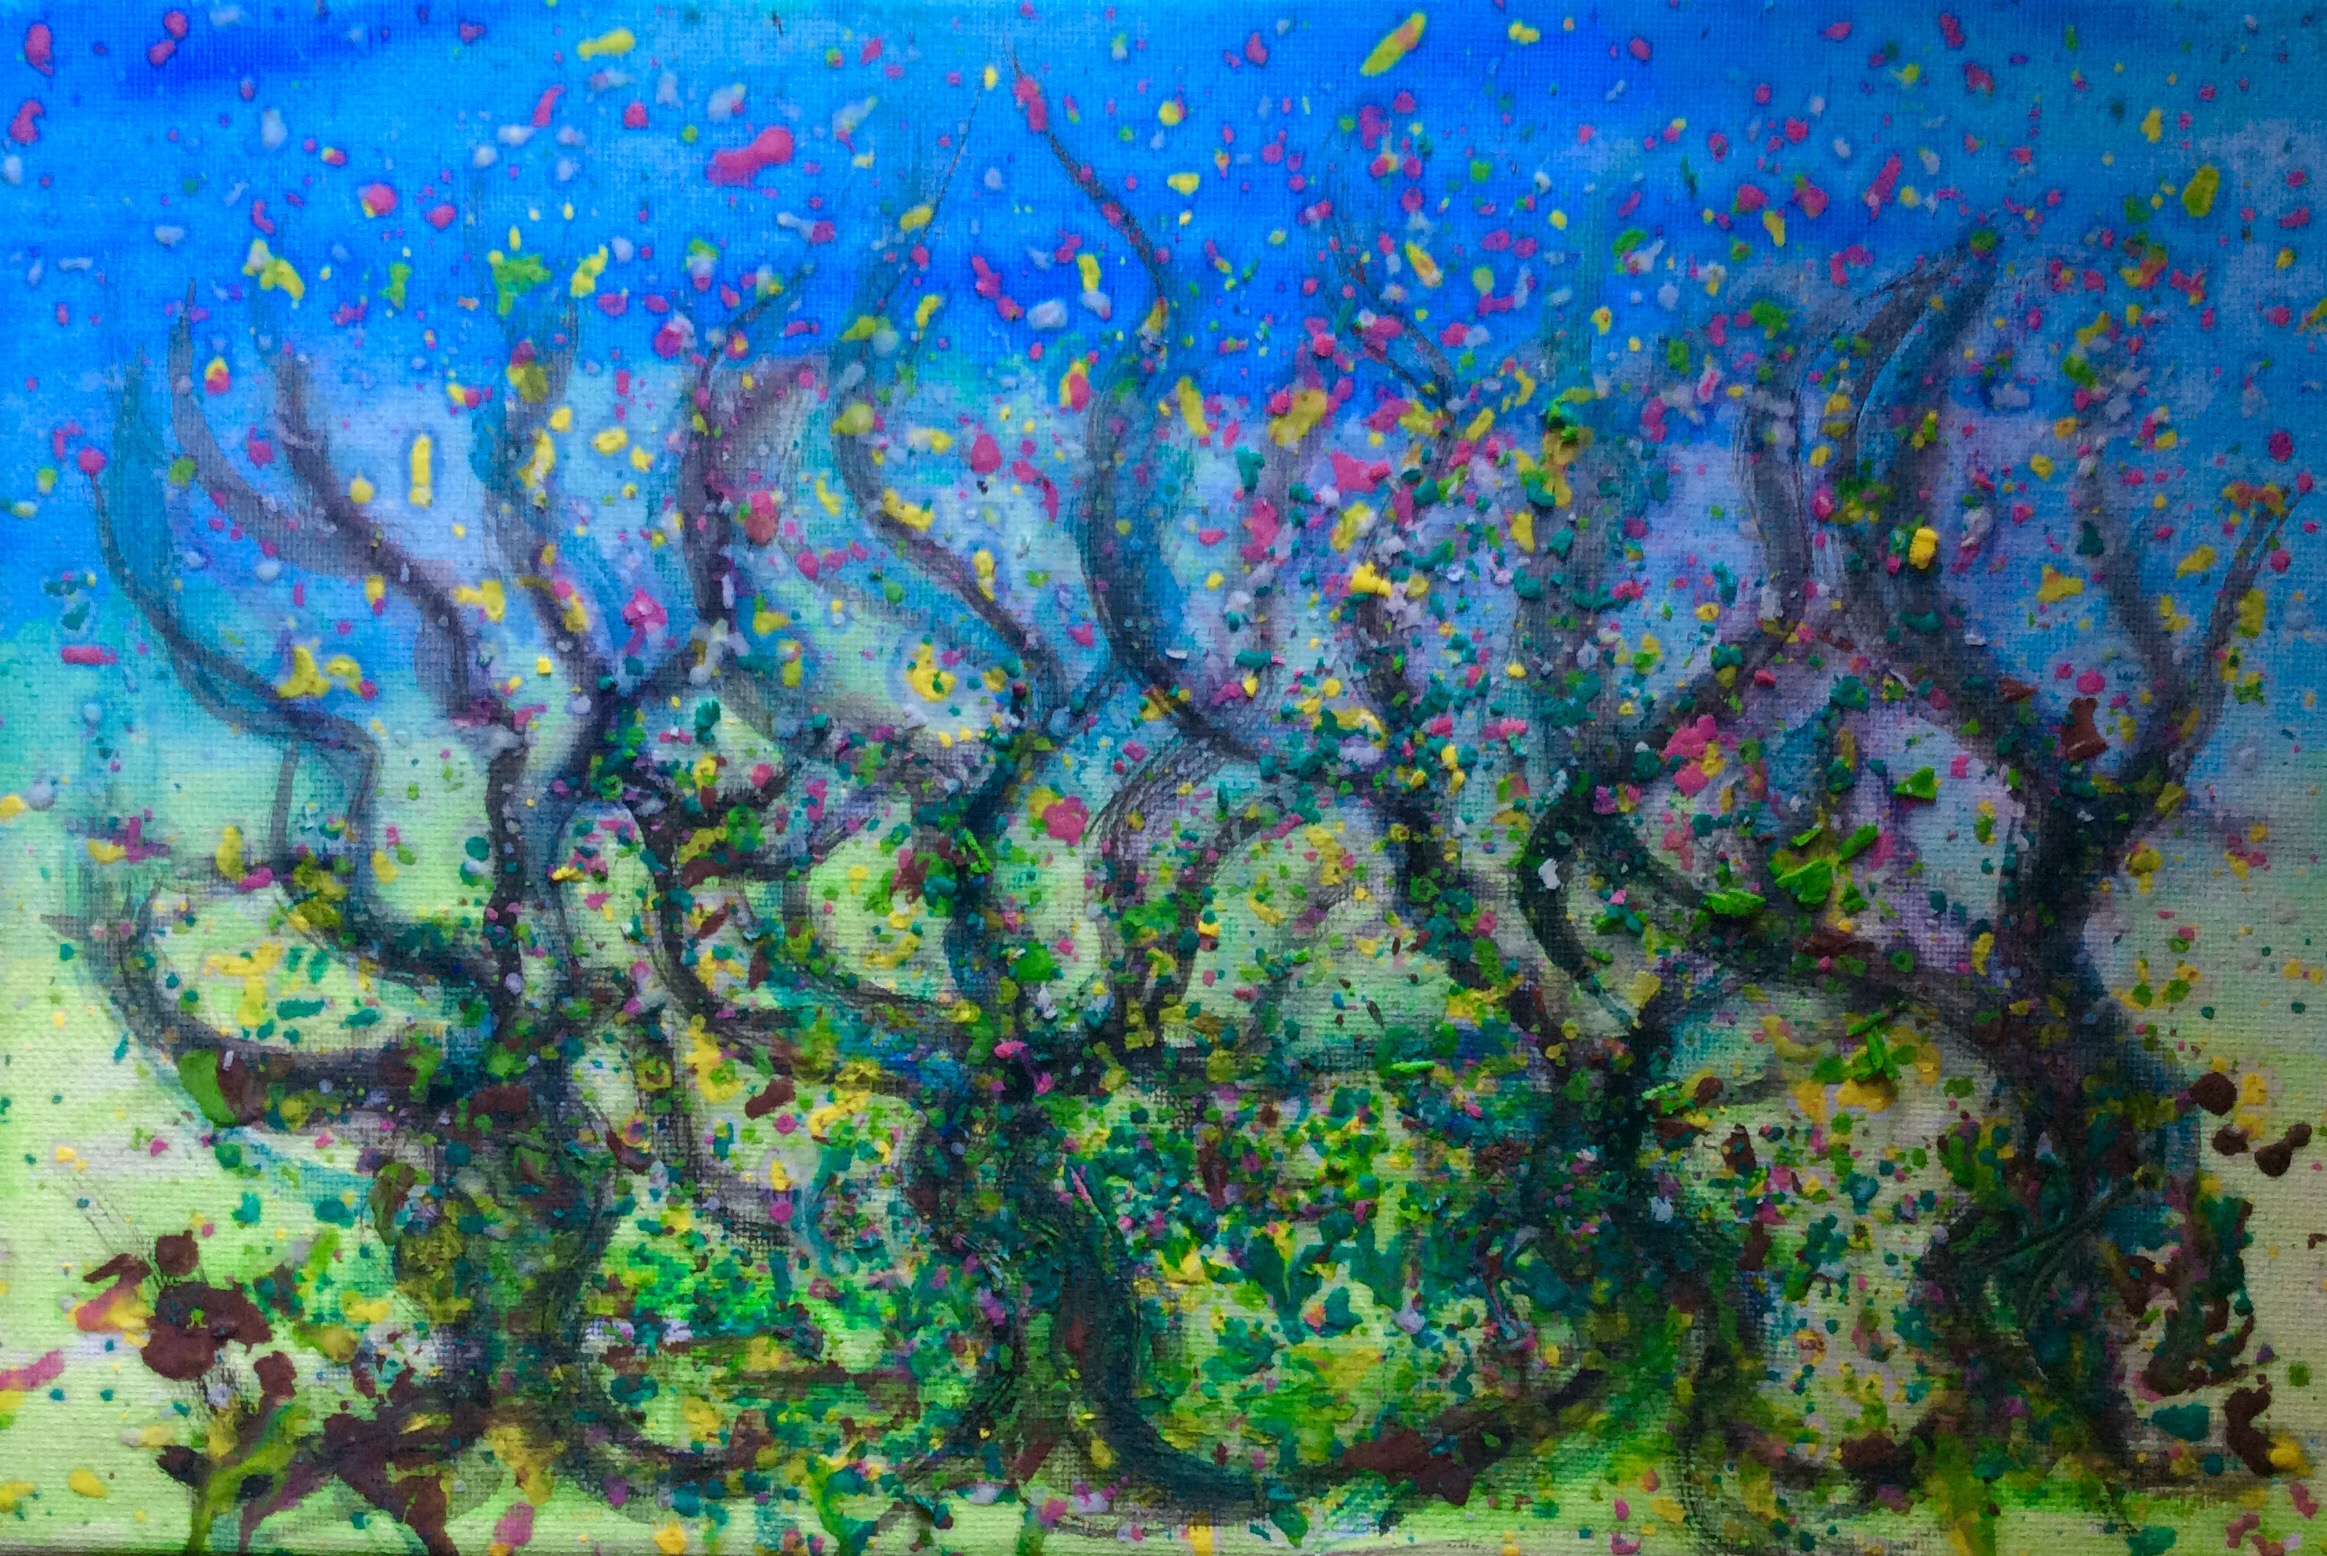
Budding twigs are good to collect …just one is necessary from each tree or bush.  If you take them home and place them in water it is possible to observe the changes from day to day. How the bud opens to reveal a flower or a leaf.

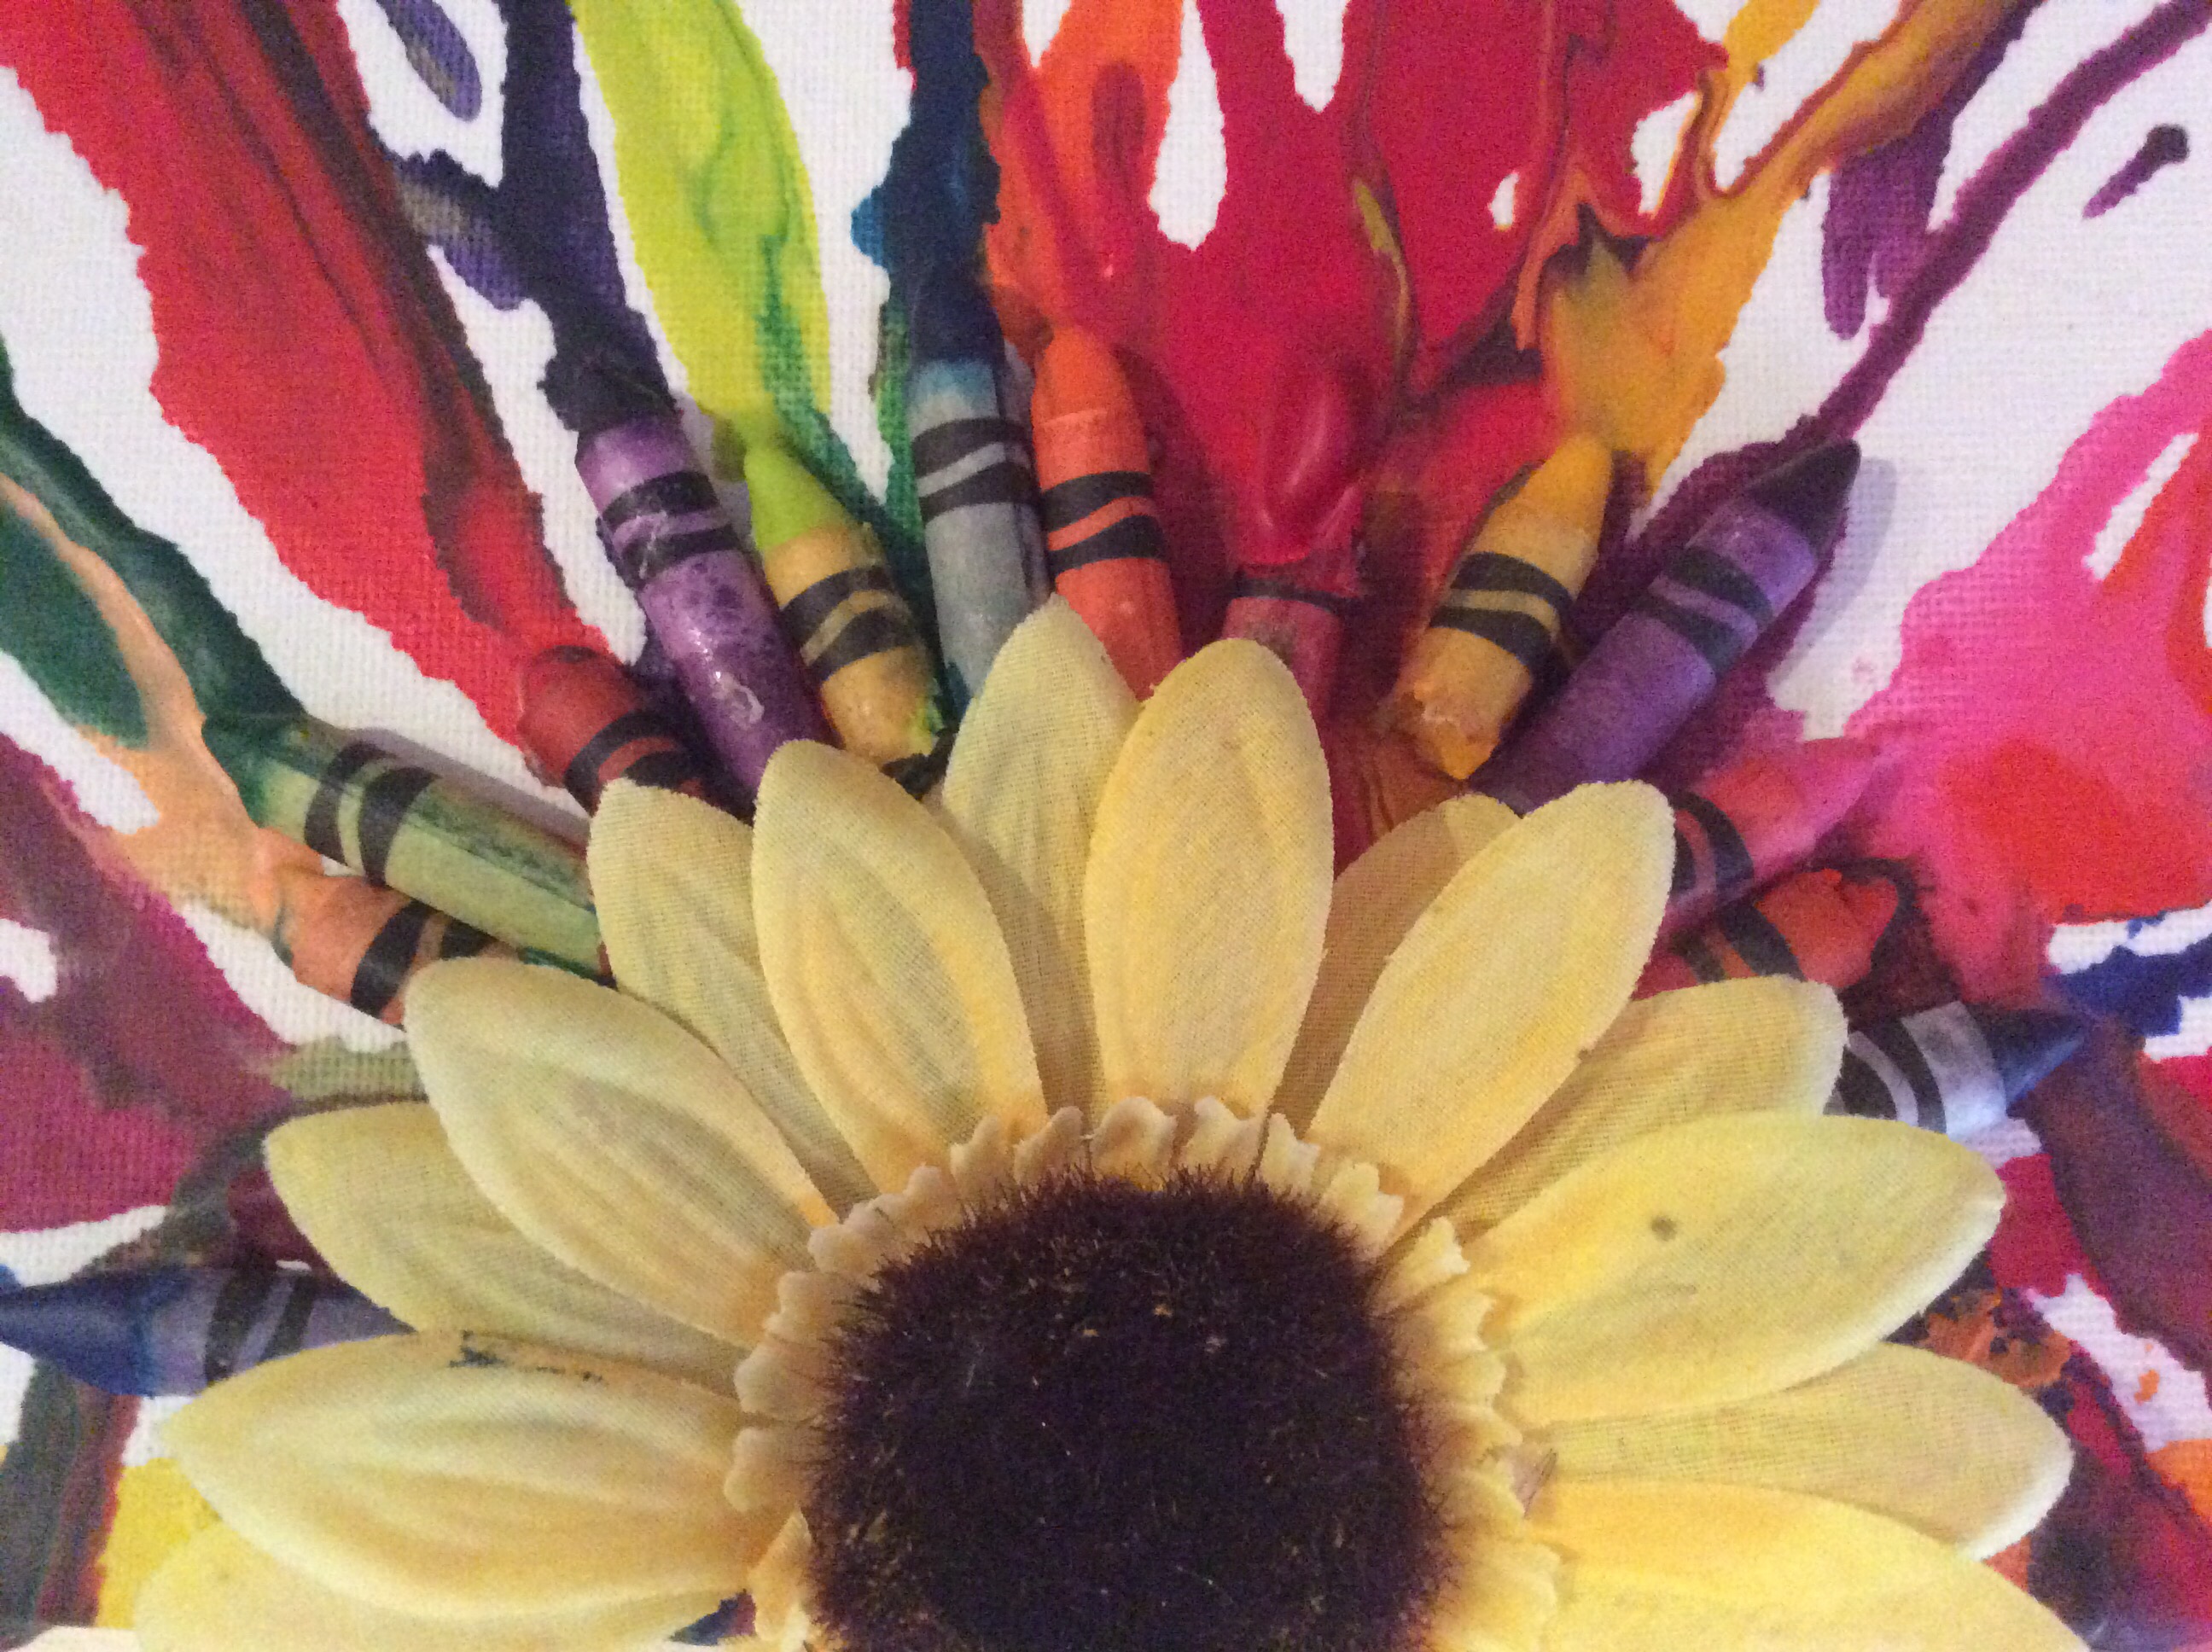
​Sprigs of blossom or a single flower can be taken home and used as inspiration for a model or painting. Flowers can also be pressed as can Leaves. It’s fun to make a collection of leaves mounted on cards. 

Leaves are good to take rubbings of.  They can also be  pressed into clay or plasticine to make a mould. If plaster of Paris is then used to fill the cavity you end up with some lovely leaf casts which can then be painted. 


Even spotting different colours of plants can be fun. Or, for older children, different shades of the same colour.. collecting lots of different colours of green for example. Once home you could try mixing paint to create these different shades. 

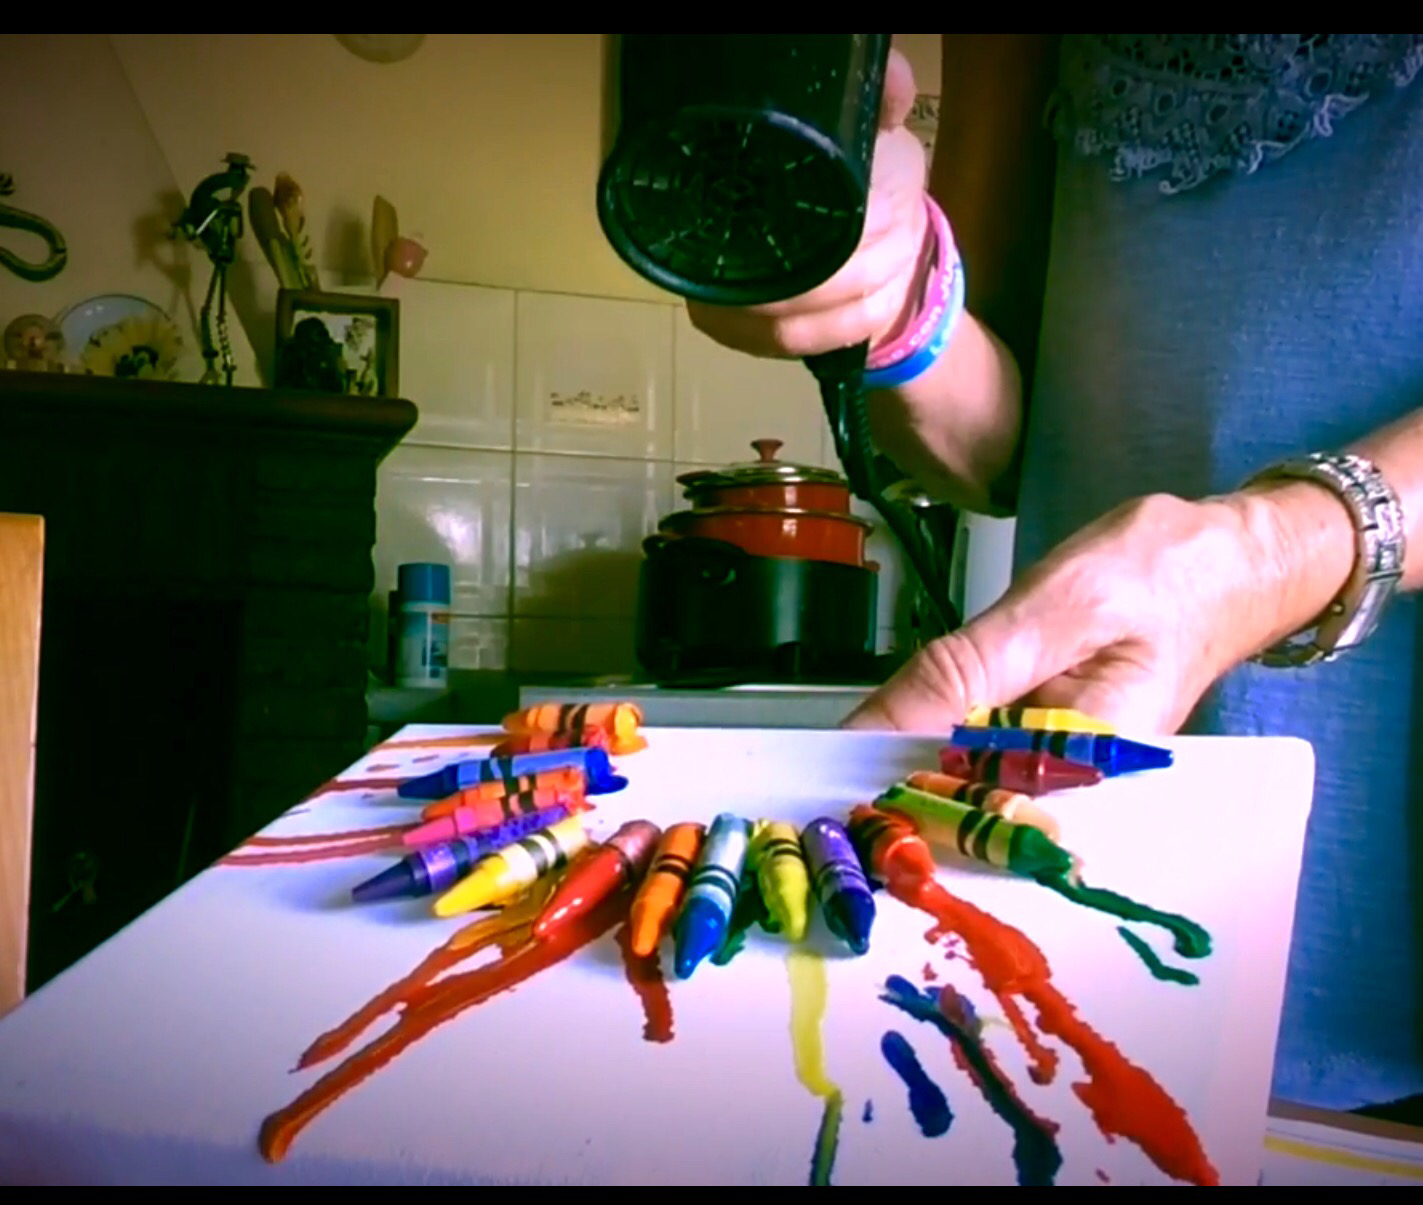
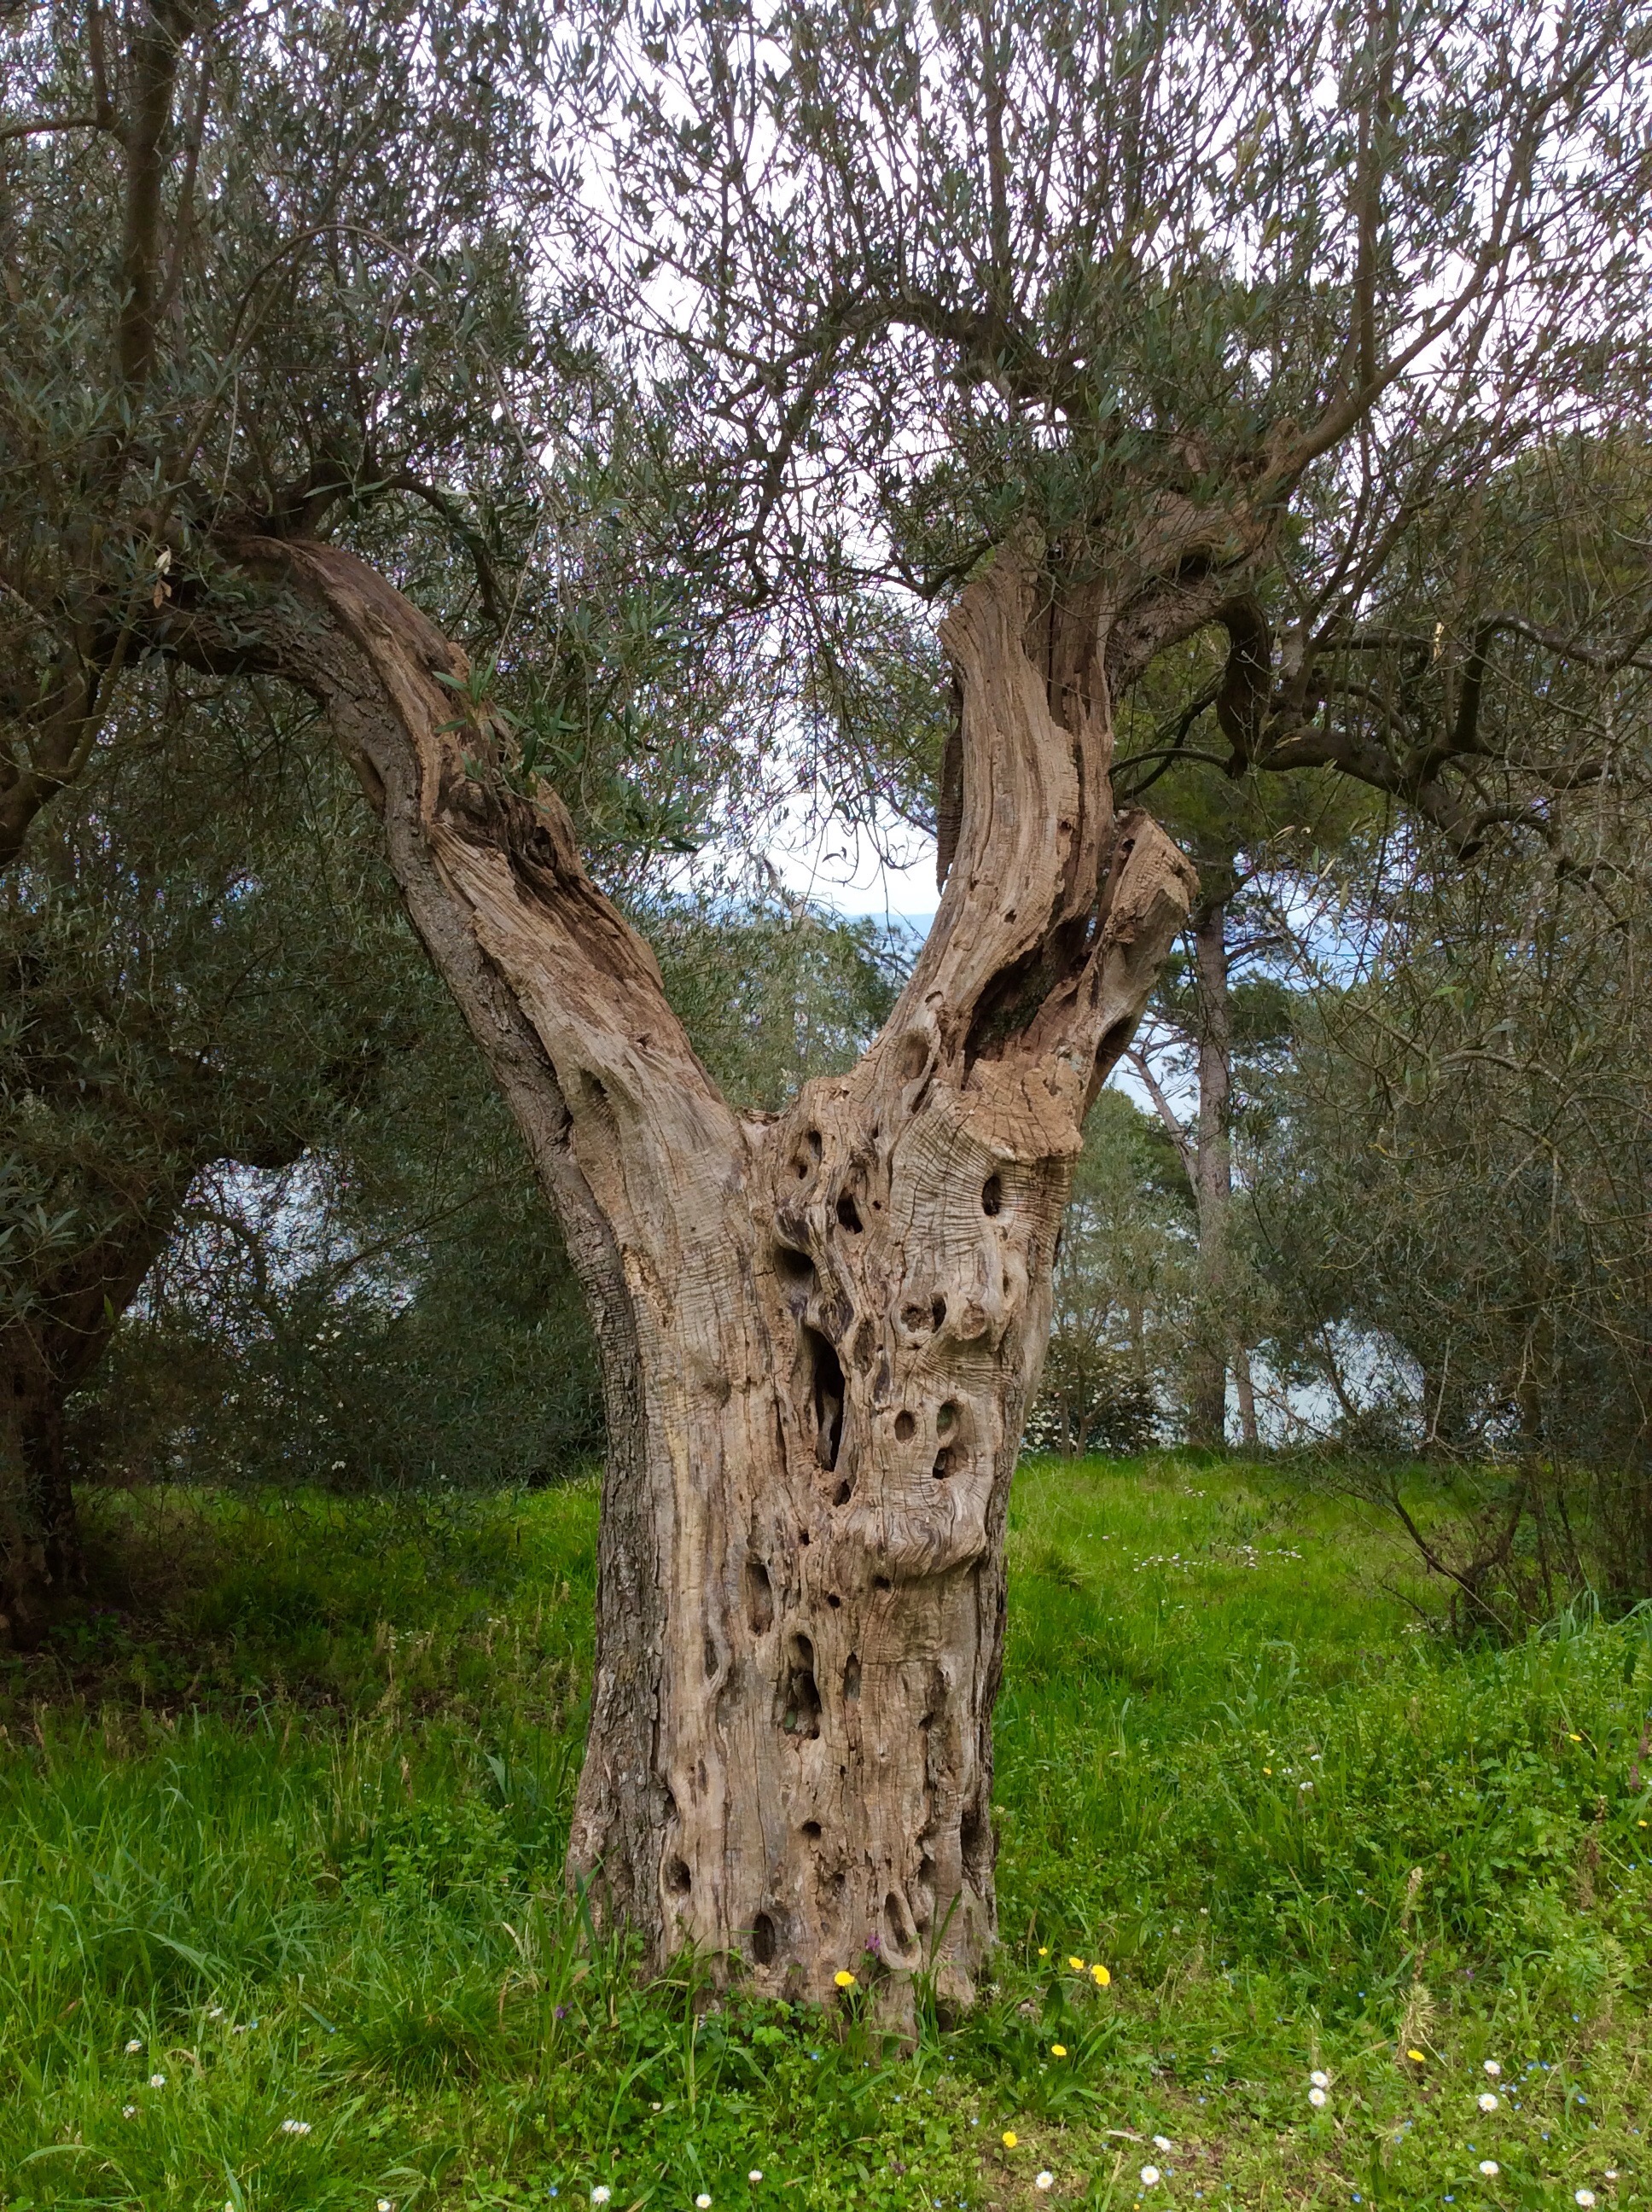
We tend not to notice the barks of trees and yet there are so many different patterns. Take chunky crayons and plain white paper with you and see how many different ones you can collect as bark rubbings. 


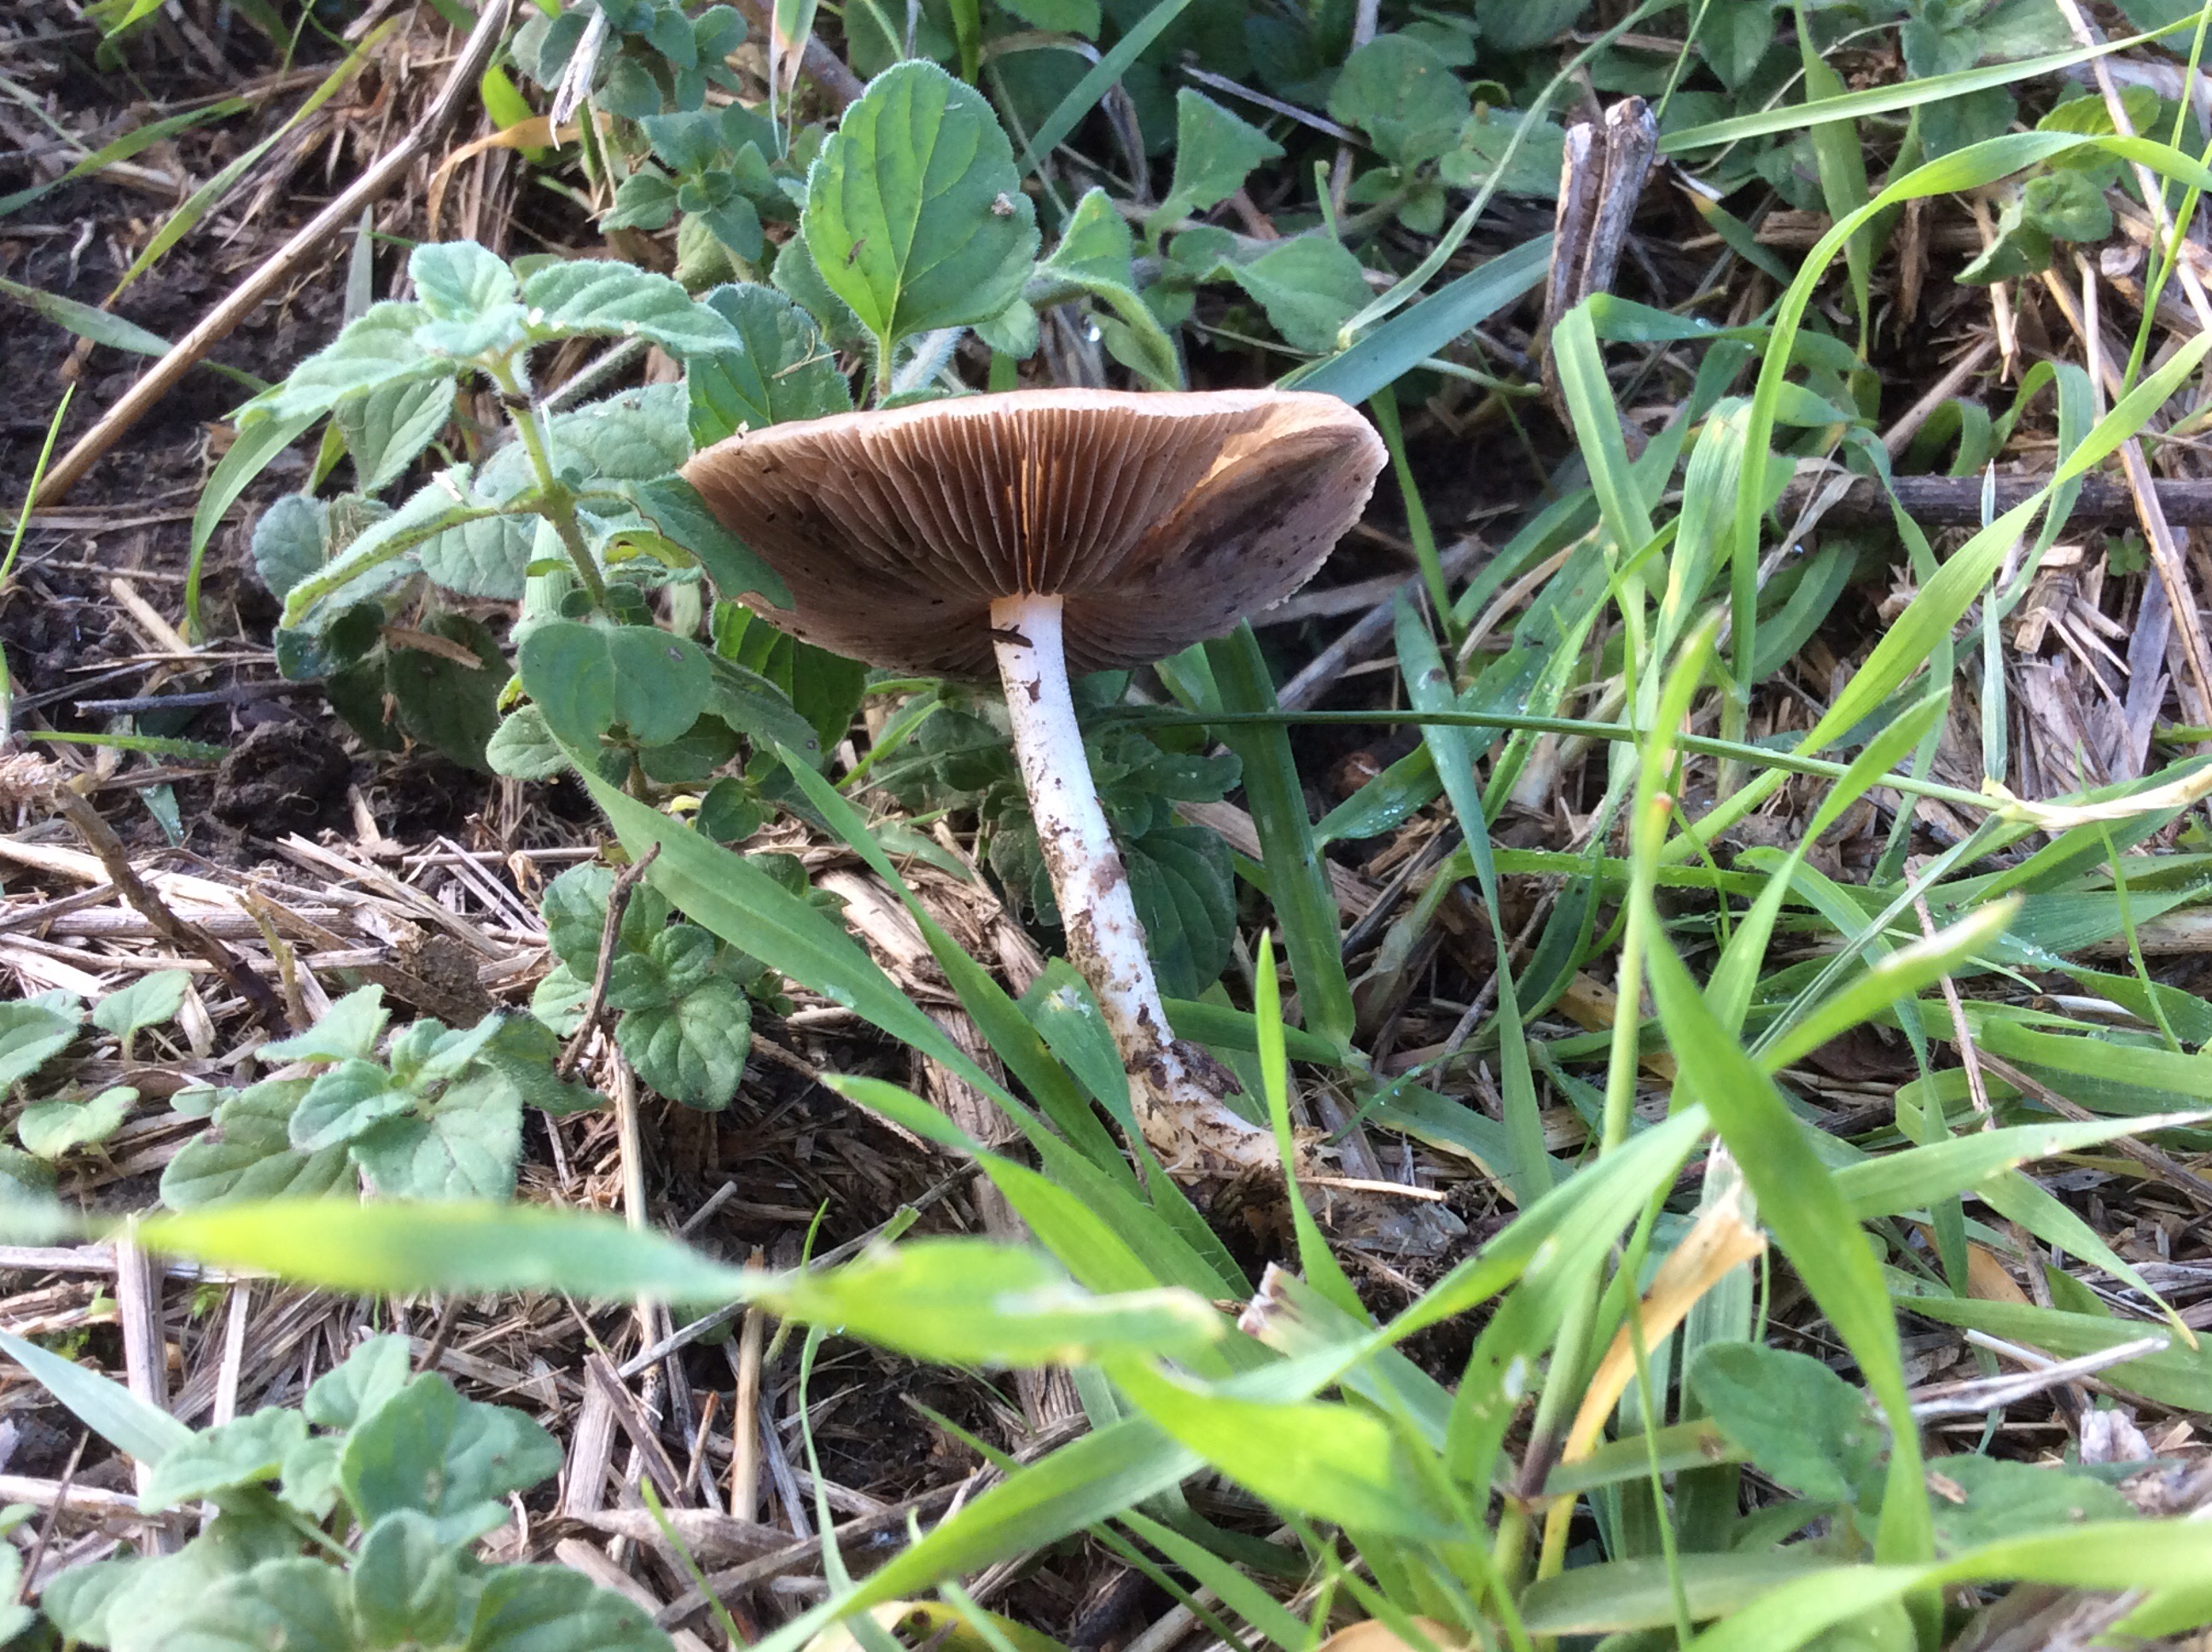
Fungi spotting is interesting but needs to be done with care as many are very poisonous. The rule is don’t touch, just draw or take a photograph. 

If you are near the sea then there are no end of opportunities. Shells, fish, pebbles, seaweed. Footprints of birds and animals in the wet sand. 

 Pebble collections are fun and larger ones can be painted to make great paper weights.  

Again please be sensitive to conservation and to the animal’s  needs. Collect empty shells and, although sea urchins are beautiful it is cruel to remove live ones as they will die plus they will stink the place out by the time you get home which serves you right but doesn’t help the poor creature. 

So, have fun in the great outdoors! 

In search of BLUE


I made this little video for my granddaughter who would like everything to be BLUE

She also loves the Jumble Tufts. 

I hope other under fives will enjoy it too. 

In addition to introducing the basic colours, the video has an important message:

                                                                                          To be observant! 


​​